Changing a lost root password in Linux is not terribly difficult. If you have access to sudo, then it is very easy. If not, then it is a little more involved, but is fairly straight forward. This guide covers systemd based distributions, which is most modern distributions. I have tested it on CentOS 7, Debian Stretch, Ubuntu 18 LTS, and OpenSUSE LEAP 15. It should work on Mint, Fedora, Oracle Linux 7, SLES, and RHEL 7.
If You Can Use Sudo
If you can login and use sudo, then open a terminal run the command sudo passwd, then press enter. Follow the prompts. It is normal to not see any output when you are typing your sudo password or the new root password. Here is an example:
tyler@debian:~$ sudo passwd

We trust you have received the usual lecture from the local System
Administrator. It usually boils down to these three things:

    #1) Respect the privacy of others.
    #2) Think before you type.
    #3) With great power comes great responsibility.

[sudo] password for tyler:
Enter new UNIX password:
Retype new UNIX password:
passwd: password updated successfully
tyler@debian:~$
If everything went as it should, you should see the last line from the example in your terminal.
If You Can’t Use Sudo
Suppose this happens:
tyler@debian:~$ sudo passwd
[sudo] password for tyler:
tyler is not in the sudoers file.  This incident will be reported.
tyler@debian:~$
If you don’t have access to a user that can use sudo, you will need to reboot your system and load a shell instead of your init system, mount your root file system, change the root password, reset the SELinux labels, and reboot the system. It sounds (and is) complicated, but it is a straight forward process that most people can do with some guidance.
Boot into a shell
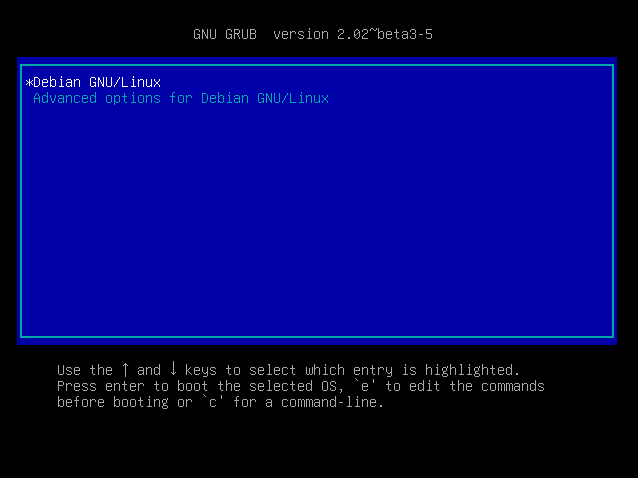
When you reboot your system, you will need to be paying attention so you can interrupt the normal boot process. When the grub screen appears, quickly press the Esc key to stop it from automatically booting. The grub screen will look different depending on your distribution, but it will look similar to one of these:
-
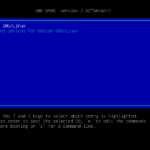
- Debian Stretch Grub
-
- CentOS 7 grub

Press the e key to edit the boot options. Using the arrow keys, move down to the line that starts with linux. If it is something like linux16, that is ok, it is the one you are looking for. Press and hold the Ctrl key and press the e key. The cursor will be at the end of the line. Add a space and then init=/bin/sh. Now press and hold Ctrl and press x .
If all is well, you should get a prompt that looks something like this:
#or this:
sh-4.2#Mount the Root File System
The root file system will already be mounted, but it will be read only. The following command will allow you to write to your drive.
mount -o rw,remount /If all is well, you should see no output and a new prompt.
Changing the Root Password
Run the command passwd. Follow the prompts. You will not see anything as you are typing the password. Your screen should look something like this so far:
# mount -o rw,remount /
# passwd
New password:
Retype new password:
passwd: password updated successfully
#
Reset SELinux Labels
On Red Hat based systems such as RHEL, CentOS, Fedora, etc., changing the root password from the minimal environment will cause the SELinux label on file storing your passwords to be incorrect. If this happens, you won’t be able to login. Create the file /.autorelabel to automatically fix this when you boot the system. Use the command touch /.autorelabel to create it.
# touch /.autorelabel
#
On systems that don’t have SELinux enabled, this won’t hurt anything. If you aren’t sure, go ahead and do it anyway.
Boot the System
Now you can fully boot the system. Start systemd with the exec command followed by the path of the systemd binary. Replace PATH in the example below with the appropriate value from the table.
# exec PATH| OS | PATH |
|---|---|
| CentOS 7 Oracle Linux 7 RHEL 7 Fedora |
/lib/systemd/systemd |
| openSUSE | /usr/lib/systemd/systemd |
| Debian Ubuntu Mint |
/bin/systemd |
Once the system boots, test the new root password and reboot.