UPDATE 2023 April 12:
I was going to build RPMs to post here, but found that MATE packages are available in EPEL. Follow the instructions here for setting up the EPEL repositories. I am going to leave the instructions up to assist package maintainers and for anyone interested in the process of building a major application from source.
HISTORICAL
At this time, I don’t know of any packages available for the MATE Desktop Environment for CentOS 8. There might be some available from EPEL in the future, but I can’t say for certain if and when that will happen. This guide will walk you through installing it from source. All of the commands in this guide should be run as the root user. At the time I wrote this, MATE version 1.23 was available. I will be walking you through installing version 1.22. It appears that 1.23 requires a newer version of glibc than CentOS 8 provides– it would probably be more trouble than it is worth compiling a second glibc and then compiling MATE against it.
When I wrote this guide, I tried to limit my assumptions. The only optional component I left out is the GTK API documentation. If you need this, you can easily enable it by passing –help to the configure scripts. The option to enable this will be in the help output.
This entire process can take a while. Depending on your hardware, it can take anywhere from an hour and a half to more than eight hours. There is no technical reason to do everything in one session. You can stop and come back to it is many times as you like. If you do need stop, make sure all commands complete before logging off. If you must interrupt one while it is running, make sure to start it again when you get more time.
Install Required Packages
First, make sure the PowerTools repository is enabled:
# dnf config-manager --enable PowerToolsThe following command will install all of the packages you need to build and run MATE:
# dnf install \
accountsservice \
accountsservice-devel \
accountsservice-libs \
alsa-lib-devel \
apr-devel \
avahi \
avahi-devel \
boost-devel \
bzip2 \
dconf \
dconf-devel \
desktop-file-utils \
enchant \
enchant-devel \
exempi \
exempi-devel \
gcc \
gcc-c++ \
gcr \
gcr-devel \
gdk-pixbuf2 \
gdk-pixbuf2-devel \
gdm \
gnome-common \
gnome-menus \
gobject-introspection-devel \
gtk3 \
gtk3-devel \
gtk-doc \
gtkmm30 \
gtkmm30-devel \
gtksourceview3 \
gtksourceview3-devel \
gvfs \
httpd \
httpd-devel \
inkscape \
intltool \
iso-codes \
iso-codes-devel \
itstool \
iw \
json-glib \
json-glib-devel \
kernel-tools-libs-devel \
lcms2-devel \
libappindicator-gtk3 \
libappindicator-gtk3 \
libappindicator-gtk3-devel \
libcanberra-devel \
libcanberra-gtk3 \
libcap-ng-devel \
libexif \
libexif-devel \
libgcrypt-devel \
libgtop2 \
libgtop2-devel \
libgxps \
libgxps-devel \
libICE \
libICE-devel \
libindicator-gtk3-devel \
libjpeg-turbo-devel \
libnl3-devel \
libnotify \
libnotify-devel \
libpeas \
libpeas-devel \
librsvg2 \
librsvg2-devel \
libsecret \
libsecret-devel \
libselinux-devel \
libSM \
libSM-devel \
libsoup \
libsoup-devel \
libspectre \
libspectre-devel \
libtiff \
libtiff-devel \
libwnck3 \
libwnck3-devel \
libX11 \
libX11-devel \
libxklavier \
libxklavier-devel \
libxml2 \
libxml2-devel \
libXScrnSaver \
libXScrnSaver-devel \
libXtst \
libXtst-devel \
lynx \
make \
mesa-dri-drivers \
network-manager-applet \
nm-connection-editor \
nss-devel \
pam-devel \
perl-Env \
perl-XML-Simple \
polkit \
polkit-devel \
poppler-glib \
poppler-glib-devel \
pulseaudio-libs \
pulseaudio-libs-devel \
pygobject3-devel \
python2 \
python2-devel \
python36 \
python36-devel \
python3-docutils \
python3-gobject \
redhat-menus \
redhat-rpm-config \
samba \
startup-notification \
startup-notification-devel \
systemd-devel \
tar \
texlive-kpathsea \
texlive-lib-devel \
upower \
upower-devel \
vala \
vte291 \
vte291-devel \
webkit2gtk3 \
webkit2gtk3-devel \
wget \
xmlto \
xorg-x11-server-Xorg \
xorg-x11-util-macros \
xorg-x11-xinit \
xorg-x11-xtrans-devel \
yelp \
zenity
Prepare a Working Area
This process requires downloading and compiling 47 source packages. I highly recommend creating a directory structure within /root to help you keep track of everything. Here is how I setup my test system for writing this guide.
I created separate directories for the source archives, source directories, and installed source directories.
# cd /root
# mkdir mate-src mate-build mate-installed
Set Environment Variables
The PKG_CONFIG_PATH variable is used by the pkg-config program to locate .pc files in non-standard locations. pkg-config is used heavily by the source configuration scripts to determine where to find header files, executables, and shared library files the application depends on. This information comes from the .pc files.
Create the file /root/mate-build-env with the following contents:
export PKG_CONFIG_PATH=/usr/local/lib/pkgconfig
export PKG_CONFIG_PATH=$PKG_CONFIG_PATH:/usr/local/share/pkgconfig
Now source the file:
# source /root/mate-build-envIf you can’t finish this process without logging out, make sure to source the environment file when you log back in before resuming the installation process.
Download Sources
First, download the MATE source files. The easiest way to do this is create a file with the names of the sources and use a bash for command with wget. Create the file /root/mate-source-files with the following contents:
atril-1.22.3.tar.xz
caja-1.22.3.tar.xz
caja-dropbox-1.22.1.tar.xz
caja-extensions-1.22.1.tar.xz
engrampa-1.22.2.tar.xz
eom-1.22.2.tar.xz
libmatekbd-1.22.0.tar.xz
libmatemixer-1.22.0.tar.xz
libmateweather-1.22.1.tar.xz
marco-1.22.4.tar.xz
mate-applets-1.22.2.tar.xz
mate-backgrounds-1.22.0.tar.xz
mate-calc-1.22.2.tar.xz
mate-common-1.22.2.tar.xz
mate-control-center-1.22.2.tar.xz
mate-desktop-1.22.2.tar.xz
mate-icon-theme-1.22.2.tar.xz
mate-indicator-applet-1.22.1.tar.xz
mate-media-1.22.2.tar.xz
mate-menus-1.22.1.tar.xz
mate-netbook-1.22.2.tar.xz
mate-notification-daemon-1.22.1.tar.xz
mate-panel-1.22.2.tar.xz
mate-polkit-1.22.0.tar.xz
mate-power-manager-1.22.2.tar.xz
mate-screensaver-1.22.2.tar.xz
mate-sensors-applet-1.22.1.tar.xz
mate-session-manager-1.22.3.tar.xz
mate-settings-daemon-1.22.1.tar.xz
mate-system-monitor-1.22.2.tar.xz
mate-terminal-1.22.1.tar.xz
mate-user-guide-1.22.3.tar.xz
mate-user-share-1.22.1.tar.xz
mate-utils-1.22.2.tar.xz
mozo-1.22.2.tar.xz
pluma-1.22.2.tar.xz
python-caja-1.22.1.tar.xz
Now run the following commands to download them:
# cd /root/mate-src
# for file in $(cat /root/mate-source-files)
do
wget https://pub.mate-desktop.org/releases/1.22/$file
done
Now download the sources for dependencies not found in the dnf repositories:
# cd /root/mate-src
# wget https://downloads.sourceforge.net/djvu/djvulibre-3.5.27.tar.gz
# wget http://tango.freedesktop.org/releases/icon-naming-utils-0.8.90.tar.bz2
# wget https://github.com/threatstack/libmagic/archive/5.18.tar.gz
# wget https://github.com/GNOME/libgnome-keyring/archive/3.12.0.tar.gz
# wget http://git.yoctoproject.org/cgit.cgi/libfakekey/snapshot/libfakekey-0.3.tar.bz2
# wget https://github.com/HewlettPackard/wireless-tools/archive/v29.tar.gz
# wget http://ftp.gnome.org/pub/GNOME/sources/gucharmap/8.0/gucharmap-8.0.1.tar.xz
# wget https://gitlab.freedesktop.org/xorg/lib/libxpresent/-/archive/master/libxpresent-master.tar.bz2
# wget https://github.com/AyatanaIndicators/libayatana-indicator/archive/0.6.3.tar.gz
# wget https://github.com/AyatanaIndicators/ayatana-ido/archive/0.4.90.tar.gz
Before going any further, check the hashes for the files downloaded with plain HTTP:
# md5sum icon-naming-utils-0.8.90.tar.bz2
dd8108b56130b9eedc4042df634efa66  icon-naming-utils-0.8.90.tar.bz2
# md5sum libfakekey-0.3.tar.bz2
3e30e3bcfd5e1b1a467bdb008ae7aa46  libfakekey-0.3.tar.bz2
# md5sum gucharmap-8.0.1.tar.xz
8368d1053f16ea05fe1dd6818146bc8e  gucharmap-8.0.1.tar.xz
# sha1sum icon-naming-utils-0.8.90.tar.bz2
4e8025f129f9e536eafff847f65e44ede3e5e7ef  icon-naming-utils-0.8.90.tar.bz2
# sha1sum libfakekey-0.3.tar.bz2
9c238bc36289a43e77182a5a5976a9766403c841  libfakekey-0.3.tar.bz2
# sha1sum gucharmap-8.0.1.tar.xz
282136115c322c726deaf3179fc172f71650c62a  gucharmap-8.0.1.tar.xz
If any of the hashes on your system vary from what I have posted here, I recommend trying to download them again from a different connection if possible.
Now unpack the source archive files into your build directory:
# cd /root/mate-build
# for file in /root/mate-src/*
do
tar xf $file
done
Install Dependencies
Before installing MATE, you need to install 10 dependencies not provided in the CentOS repositories.
First, make sure you are in the build directory created earlier.
# cd /root/mate-buildInstall DjVuLibre. DjVuLibre is a set of tools and libraries used by atril for handling the DjVu document format.
# cd djvulibre-3.5.27
# ./configure
# make
# make install
# cd ..
# mv djvulibre-3.5.27 ../mate-installed
Install libmagic. libmagic is used by the archive tool engrampa to detect file types.
# cd libmagic-5.18
# ./configure
# make
# make install
# cd ..
# mv libmagic-5.18 ../mate-installed
The icon-naming-utils package is used by the MATE icon package to maintain compatibility with the freedesktop.org Icon Naming Specification. Install it now.
# cd icon-naming-utils-0.8.90
# ./configure
# make
# make install
# cd ..
# mv icon-naming-utils-0.8.90 ../mate-installed
The libXpresent library is used by marco, the MATE window manager.
# cd libxpresent-master
# ./autogen.sh
# make
# make install
# cd ..
# mv libxpresent-master ../mate-installed
CentOS 8 has the shared libaries and executables that make up wireless-tools. The network speed applet needs the header file, which isn’t in the repositories.
# cd wireless-tools-29
# cd wireless_tools
# make
# make install
# cd ../..
# mv wireless-tools-29 ../mate-installed
gucharmap is used by the character picker applet.
# cd gucharmap-8.0.1
# ./configure
# make
# make install
# cd ..
# mv gucharmap-8.0.1 ../mate-installed
Now install libgnome-keyring. GNOME keyring securely stores passwords and other secrets. It is used by mate-power-manager.
# cd libgnome-keyring-3.12.0
# ./autogen.sh
# make
# make install
# cd ..
# mv libgnome-keyring-3.12.0 ../mate-installed
The mate-netbook package requires libfakekey. libfakekey simulates X11 keypress events.
# cd libfakekey-0.3
# ./autogen.sh
# make
# make install
# cd ..
# mv libfakekey-0.3 ../mate-installed
Install MATE
Now we can begin to install the various MATE applications and libraries. Due to the number of them, I am not going to explain what each one is. If you desire an explanation, there is a file called README inside of each source directory. The README file should explain what that particular compenent is.
Before getting started, make sure you are in the build directory:
# cd /root/mate-buildInstall these programs, in order, using the instructions below:
mate-common-1.22.2
mate-desktop-1.22.2
mate-calc-1.22.2
mate-backgrounds-1.22.0
marco-1.22.4
libmatekbd-1.22.0
libmatemixer-1.22.0 --enable-oss
libmateweather-1.22.1 --enable-locations-compression
eom-1.22.2
mate-menus-1.22.1
mate-terminal-1.22.1
mozo-1.22.2
mate-polkit-1.22.0
mate-user-guide-1.22.3
mate-icon-theme-1.22.2
pluma-1.22.2
mate-panel-1.22.2
mate-media-1.22.2
mate-utils-1.22.2
caja-1.22.3
caja-extensions-1.22.1
engrampa-1.22.2 --enable-magic --enable-run-in-place
mate-applets-1.22.2
atril-1.22.3 --enable-pixbuf --enable-introspection
python-caja-1.22.1
mate-notification-daemon-1.22.1
mate-session-manager-1.22.3
caja-dropbox-1.22.1
mate-sensors-applet-1.22.1
mate-settings-daemon-1.22.1 --enable-pulse
mate-control-center-1.22.2
mate-system-monitor-1.22.2 --enable-systemd
mate-power-manager-1.22.2
mate-screensaver-1.22.2
mate-netbook-1.22.2
mate-user-share-1.22.1
If you have more than one processor or core on your system, you can speed up the build process by instructing make to make use of them. To do this, you use the -j option followed by the number of processes you wish to run. I recommend one less than the number of cores on your system. If you aren’t going to use the system for anything else while installing MATE, you might as well use all cores.
If you wish to automate this process, paste the contents of the box above into a file called pkgs and run the command below. Make sure to replace the the -j 4 passed to make with what is appropriate for your system.
# for d in $(awk '{print $1}' pkgs)
do
  OPTIONS=$(grep $d pkgs | cut -f 1 -d ' ' --complement)
  DIR=$(echo $d | awk '{print $1}')
  cd $DIR
  if [[ $OPTIONS == $DIR ]]
  then
     OPTIONS=" "
  fi
  ./configure $OPTIONS || { echo fail $DIR; break; }
  make -j 4 || { echo fail $DIR; break; }
  make install || { echo fail $DIR; break; }
  cd ..
  mv $DIR ../mate-installed
done
To install them manually, replace SRCDIR in the command template below with the directory names from the list above. If there are any options following the directory name, replace OPTIONS with the relevant options. Make sure to omit or replace -j CPU.
# cd SRCDIR
# ./configure OPTIONS
# make -j CPU
# make install
# cd ..
# mv SRCDIR ../mate-installed
Example with no options:
# cd mate-user-guide-1.22.3
# ./configure
# make
# make install
# cd ..
# mv mate-user-guide-1.22.3 ../mate-installed
Example with options:
# cd libmatemixer-1.22.0
# ./configure --enable-oss
# make
# make install
# cd ..
# mv libmatemixer-1.22.0 ../mate-installed
Here I use multiple processes:
# cd mate-user-guide-1.22.3
# ./configure
# make -j 3
# make install
# cd ..
# mv mate-user-guide-1.22.3 ../mate-installed
Notice the following message after install mate-user-share:
Do note Apache >= 2.2 and mod_dnssd 0.6 are required to use mate-user-share.This means that for mate-user-share to work, you must install Apache, the mod_dnssd module, and then configure Apache to run the module. If you need to share files among multiple machines, I recommend setting up a Samba or NFS server instead.
Install the Indicator Applet
Before installing the indicator applet, you must install a few dependencies. You couldn’t install them earlier because they depend on mate-common.
# cd ayatana-ido-0.4.90
# ./autogen.sh
# make
# make install
# cd ..
# mv ayatana-ido-0.4.90 ../mate-installed
# cd libayatana-indicator-0.6.3
# ./autogen.sh
# make
# make install
# cd ..
# mv libayatana-indicator-0.6.3 ../mate-installedNow install the indicator applet:
# cd mate-indicator-applet-1.22.1
# ./configure --with-ayatana-indicators
# make
# make install
# cd ..
# mv mate-indicator-applet-1.22.1 ../mate-installed
Configure MATE
Before using MATE, there are some things you need to do first to integrate it with CentOS 8.
First, there are some files that were installed to /usr/local that MATE will look for in other places. The commands below will create symbolic links that allow MATE to find them.
# for f in /usr/local/share/polkit-1/actions/*
do
ln -s $f /usr/share/polkit-1/actions/$(basename $f)
done
# for f in /usr/local/etc/xdg/menus/*
do
ln -s $f /etc/xdg/menus/$(basename $f)
doneThe GDM display manager uses the gdm-password file for its PAM configuration. Without a PAM configuration file, the MATE screenlock will not work. E.g. you won’t be able to unlock the screen lock if you don’t do this. This is because MATE screenlock uses PAM to authenticate you. If you aren’t familiar with PAM, it allows users to configure how users are authenticated when they attempt to login. PAM uses configuration files to determine the methods used to do so.
# cd /etc/pam.d
# ln -s gdm-password mate-screensaver
Finally, create a symbolic link to the desktop session file so GDM can find MATE:
# cd /usr/share/xsessions
# ln -s /usr/local/share/xsessions/mate.desktop mate.desktop
Test MATE
If GDM wasn’t already installed and enabled, enable it now.
# systemctl set-default graphical.target
# systemctl enable gdm.service
Restart GDM to ensure it can see MATE. If it isn’t already running, using restart instead of start won’t hurt anything. When testing this guide, sometimes GDM wouldn’t finish starting, leaving me with a blank screen. Everything worked fine after a reboot. A web search led me to a few bug reports that matched the symptoms I encountered, so I am assuming it is a bug with GDM.
# systemctl restart gdm.serviceWhen GDM loads, regular users will be selectable from the login screen. If none exist, create one and set a password for it:
# useradd -m username
# passwd username
Now launch MATE by logging in through GDM. Use a regular user if possible. If you login as root, the background will be black, there will be no desktop icons, and the screen won’t lock. This is by design.
Select the user from the GDM login screen:
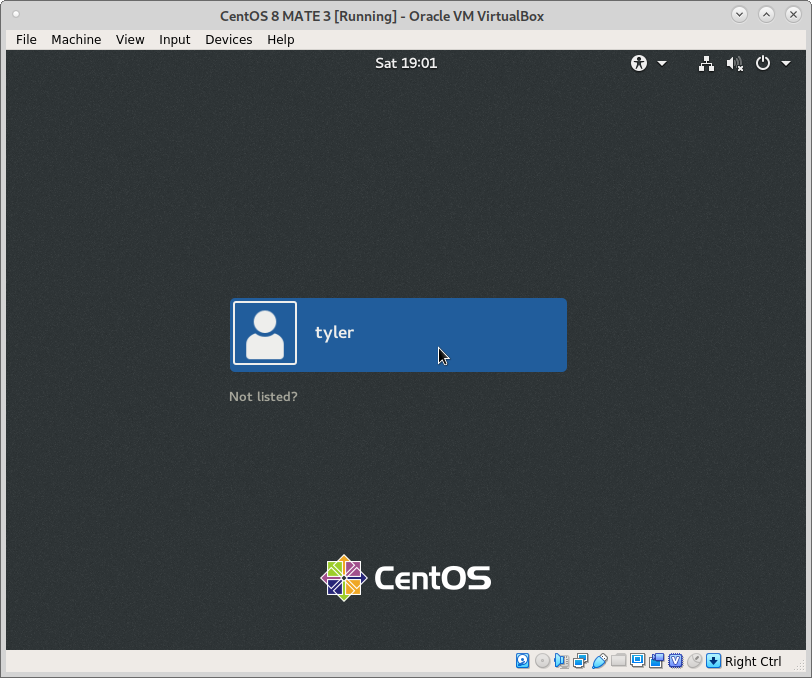
Select a regular user.
Choose MATE from the menu next to the Sign In button.
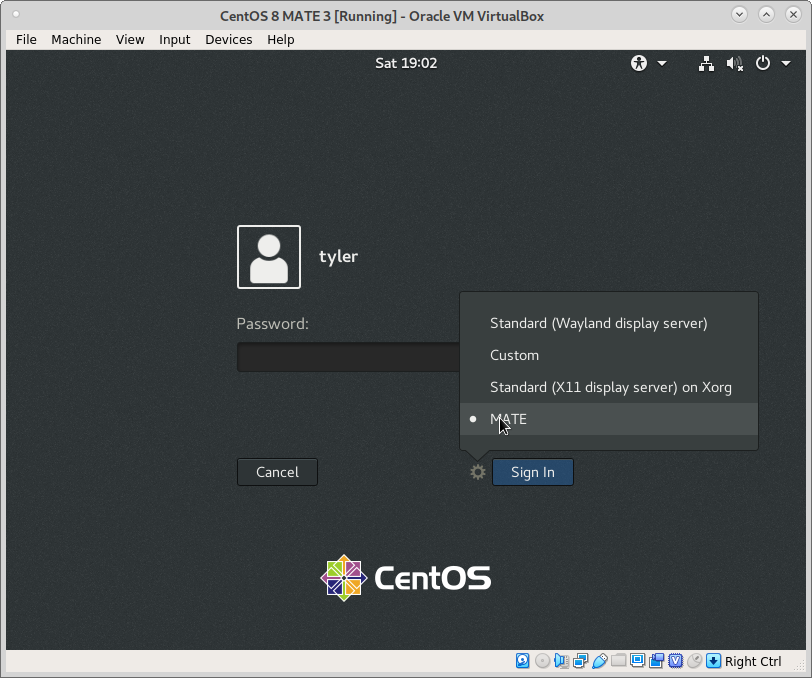
Select MATE from the menu.
Enter your password and click Sign In. If all is well, your screen should look like this:
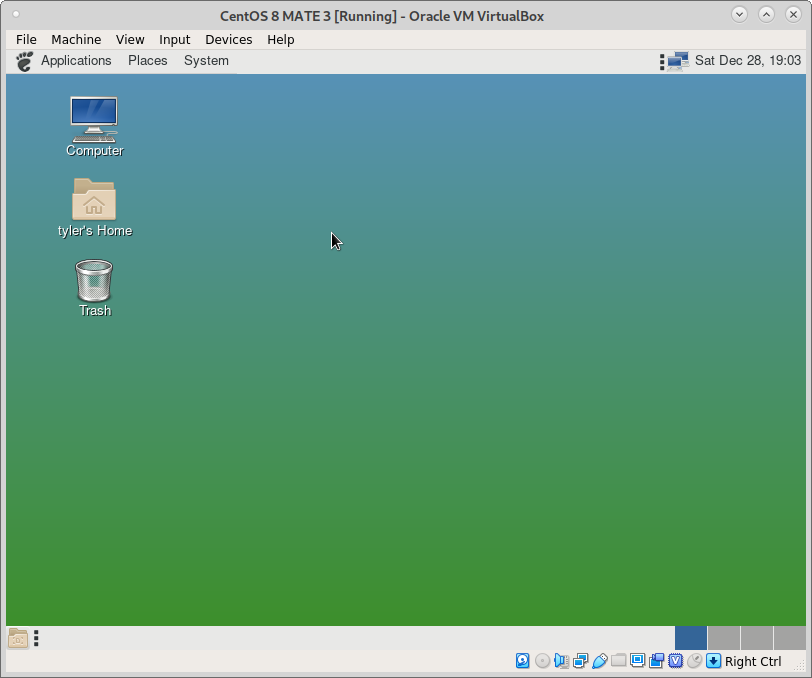
A working MATE desktop.
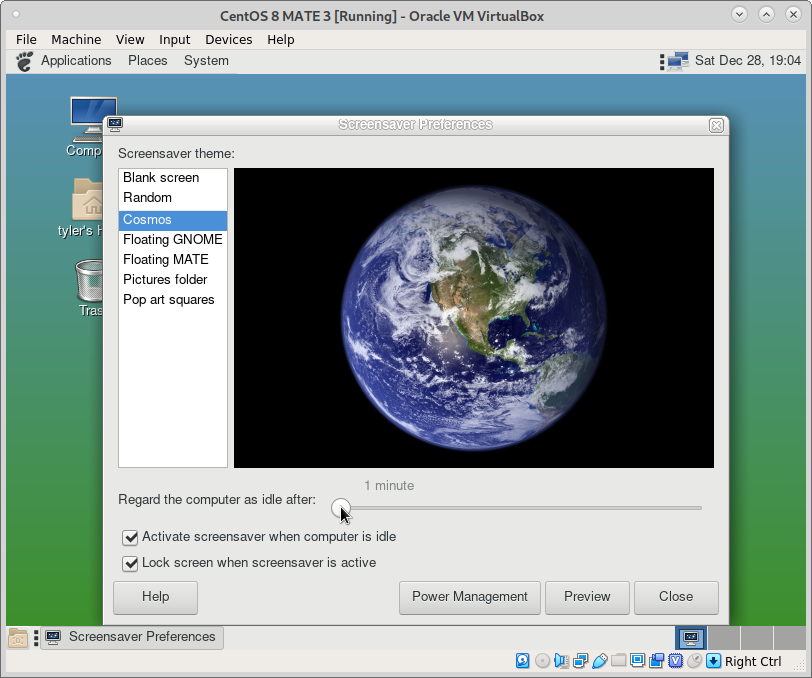
Now, lets test the screen lock. Navigate to the Screensaver configuration tool by clicking System, then Preferences, then Look and Feel, and finally Screensaver.
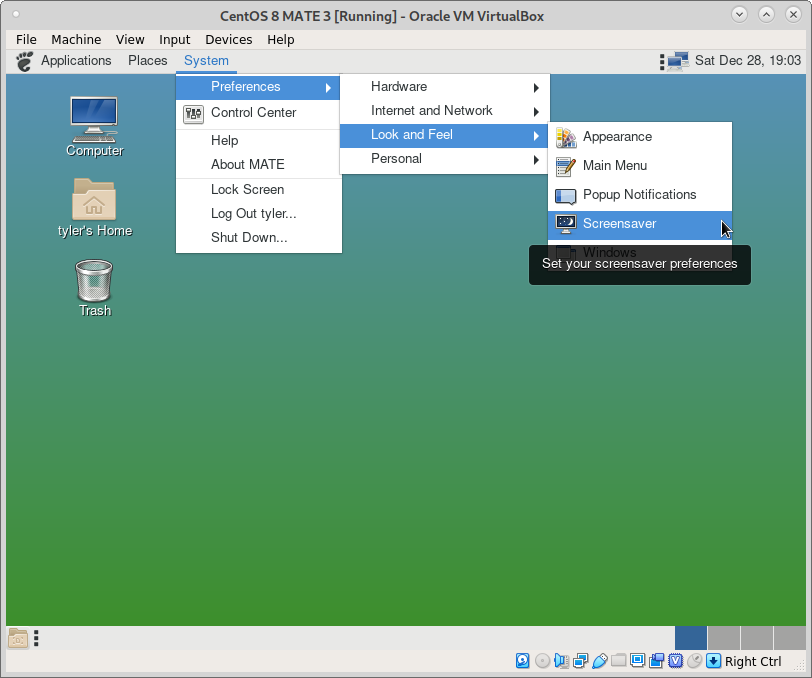
Open the Screensaver configuration tool.
Temporarily set the time to 1 minute. Do not press any key or move the mouse for 1 minute. The screen saver should load. If the screen saver does not work, try logging out of MATE and logging back in.
Assuming the screensaver popped on, move the mouse or press a key. If all is well, the unlock screen should pop up. Enter your password and click Unlock.
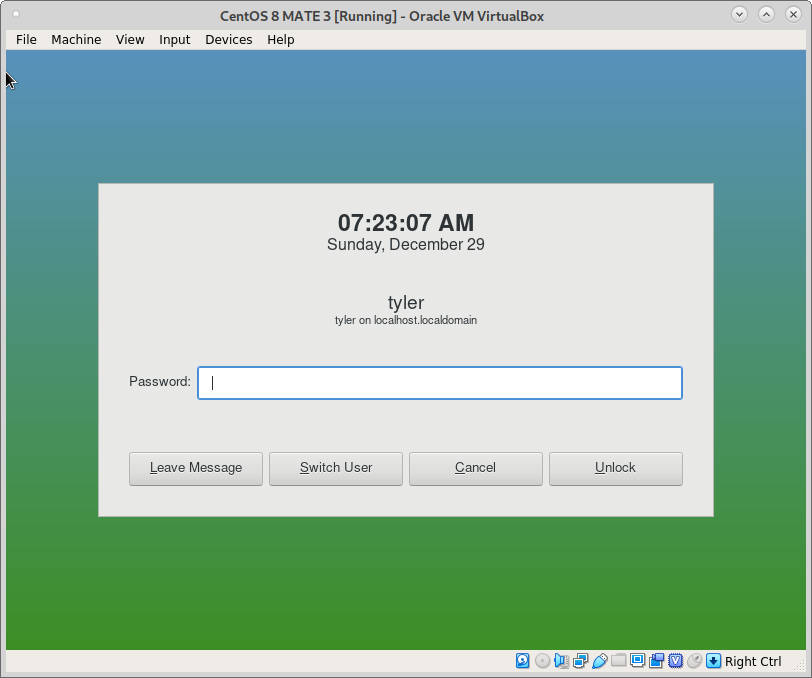
The unlock screen.
Summary
While there are a lot of steps involved with installing MATE from source, most users with basic command line skills should be able to do it by following this guide. I did not test every feature and application, so if something doesn’t work, please send me a message using my contact form.